|
Entering Crew's Medical Details |
This feature allows you to track a crew member's medical reports and medical history. It is also accessible by medical panels such as external parties and doctors (if access is provided). Soft copy of medical reports can be uploaded to the System. A crew member is allowed to access and view his medical details.
The Medical Type codes available for selection under the Medical Examination and Medical Incident tabs will depend on the setup carried out in the Medical Type Register.
Screen Navigation: Personnel - Profiles - Medical tab - Medical Examination sub tab
![]() Jump to topic:
Jump to topic:
Creating a Medical Examination Record
|
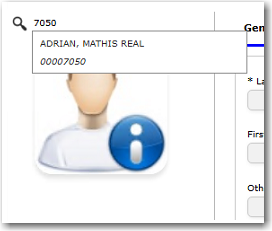
To add a new medical examination details for a crew member: 1. From the HR Manager main menu, click Profiles under the Personnel menu. 2. Ensure that the crew profile for which you want to create a new medical examination record has been loaded. Note: To search for a crew member, enter part of the crew's name or ID in the Search Crew field above the profile picture, then select from the auto suggested results.
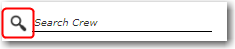
Note: Alternatively, click the magnifying glass icon to open the Simple Search pop-up window. You can use the drop-down function to select and load a list from the Personnel List section and click a crew member from the Search Result section to view his profile, or search for specific crew member(s) based on their Name, Gender, Nationality, Pool, Rank, Manning Agent, and Active/Inactive status.
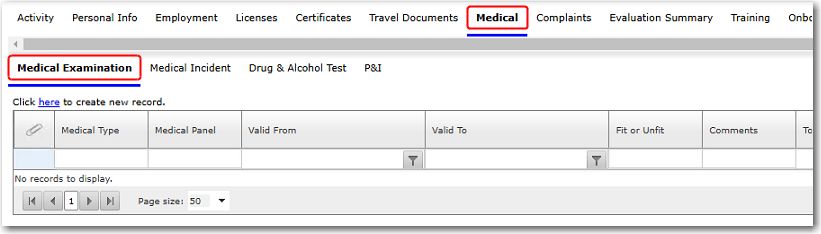
3. On the crew profile, click the Medical Examination sub tab under the Medical tab. This sub tab is used when a crew member is undergoing a medical examination for the purposes of reporting for duty.
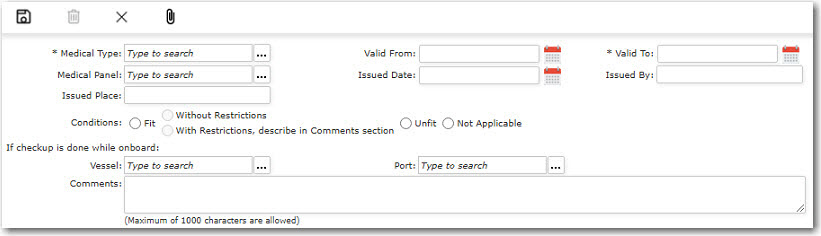
4. Click the 'Click here to create new record' link to create a new medical examination record. On the Medical and P&I screen, enter information in the following fields:
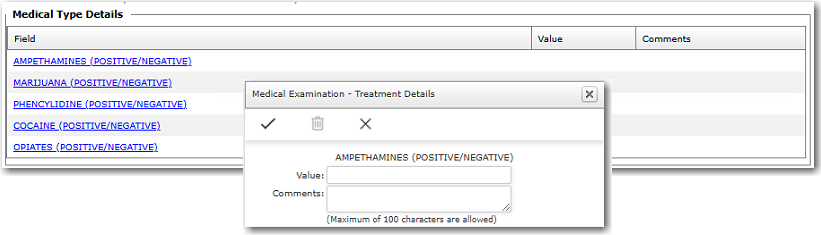
5. The Medical Type Details table will be populated based on your selection in the Medical Type field above. You can click on a record in the table to enter values and comments as well.
6. The Cost Details table enables you to enter cost details with regards to this medical examination. Click the '+' icon to add information in the table and the Medical Examination - Assign Cost window will be displayed. You can select the Cost Code followed by the Date of the medical examination and the Amount of the examination.
7. Click the diskette icon after you have completed your entries to save the information entered. The medical record will now be listed in the Medical Examination table. 8. Optionally, click the number 0 in the 'Attachment' column to the medical report or any relevant documents for the medical record. In the Upload Manager, click the Add Attachment(s) button to browse for and select the file to be uploaded, and then click OK. The attachment will be uploaded and can be accessed from the Upload Manager window. To launch the Upload Manager again, click the number indicated in the 'Attachment' column for the record. Note: A back-end database-controlled feature is available where the System will perform a check on whether or not there are restrictions to a crew member's fitness in a Medical Examination record. If a crew member's fitness is 'Without Restrictions' (as selected in the Conditions field), then the System will perform the necessary checks on the validity of the record on the Check License screen. However, if 'With Restrictions, describe in Comments section' is selected, then the System will automatically highlight the record (as 'Expired') on the Check License screen. Please note that this is a back-end database-controlled feature. Contact BASS Support if you would like to explore the option of including this feature.
|
Creating a Medical Incident Record
Screen Navigation: Personnel - Profiles - Medical tab - Medical Incident sub tab
|
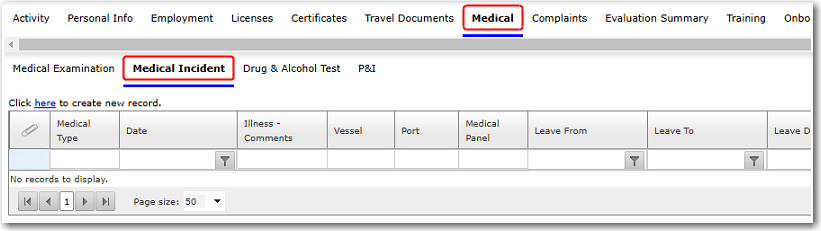
To add a new medical incident details for a crew member: 1. After opening the crew member's profile, click the Medical Incident sub tab under the Medical tab. This sub tab is used to log the details of the crew member's visit to the doctor due to an illness or an injury.
2. Click the 'Click here to create new record' link to create a new medical incident record. On the Medical and P&I screen, select the Status of this incident record, which is set as PENDING by default, and then under the Injury / Illness Details tab, enter the information in the following fields:
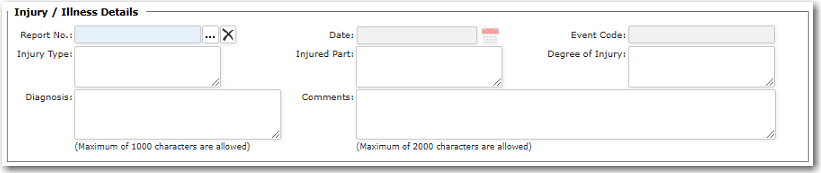
3. In the Injury / Illness Details section, enter information in the following fields:
4. In the Illness Details section, you can enter further information related to the crew member's injury/illness in the Symptoms, Diagnosis, and Comments fields. Click the diskette icon to save your entries.
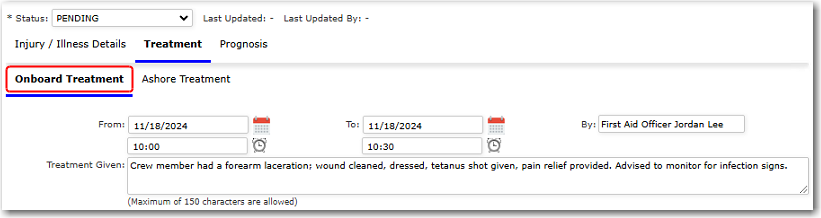
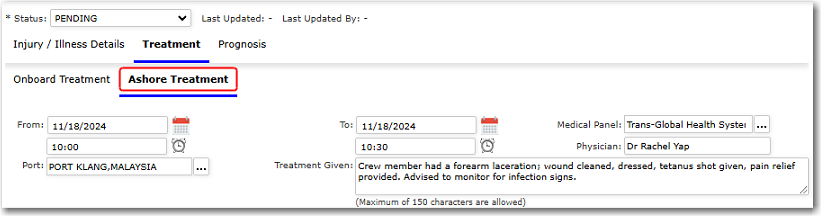
5. Go to the Treatment tab to enter information about the treatment received by the crew member. This tab is made up of two sub tabs:
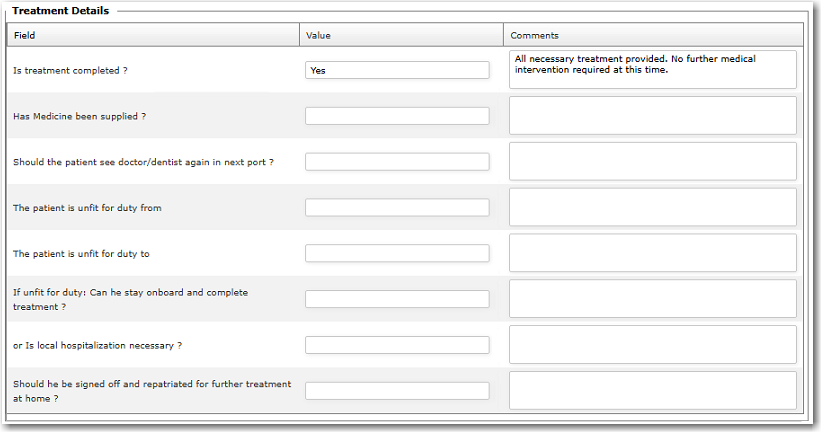
6. In the Treatment Details section, the table is populated based on your selection of injury Type under the Injury / Illness Details tab. Click a record in the table and enter the value and comments pertaining to the treatment.
7. In the Cost Details section, the table enables you to enter the cost details of the crew member's medical treatment. Click the '+' icon to add a cost details record and enter the information in the available fields in the Assign Cost window. Select the Cost Code, Date, and Amount of the medical treatment, as well as all other relevant details in the remaining fields. Click OK once done.
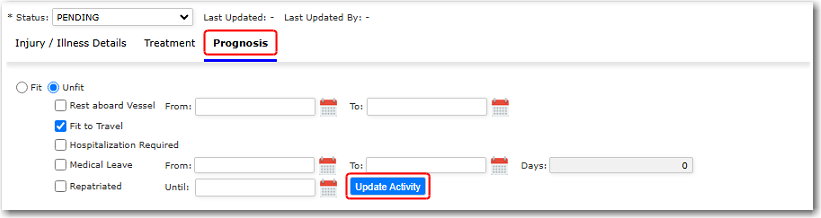
8. Click the diskette icon to save your entries. Then, click the Prognosis tab and select whether the crew member is Fit or Unfit for duty. If the crew member is deemed unfit, you can further select whether the crew member should be rested, hospitalized, or repatriated, etc. Note: If the record is linked to an activity, you can click the Update Activity button to update the crew member's activity on the Activity screen based on the prognosis.
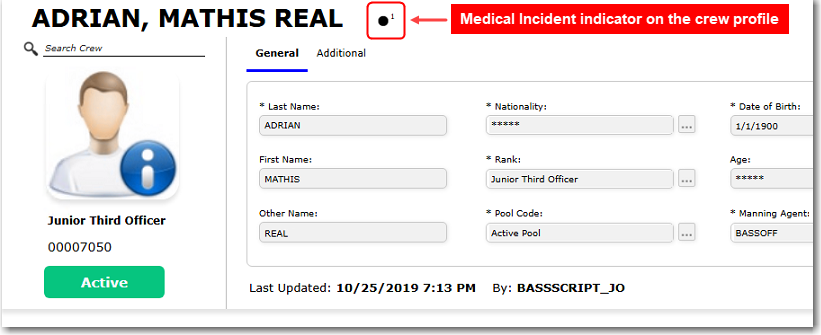
9. Click the diskette icon to save the information entered after you have completed all the required entries. The medical record will now be listed in the Medical Incident table on the crew member's profile. An indicator will also be displayed on their profile to indicate that a medical incident involving the crew member has been recorded. The indicator is displayed as a black circle with the number of medical incidents recorded for the crew member. Clicking this indicator will open up the Medical Incident tab on the Medical and P&I screen for the crew member.
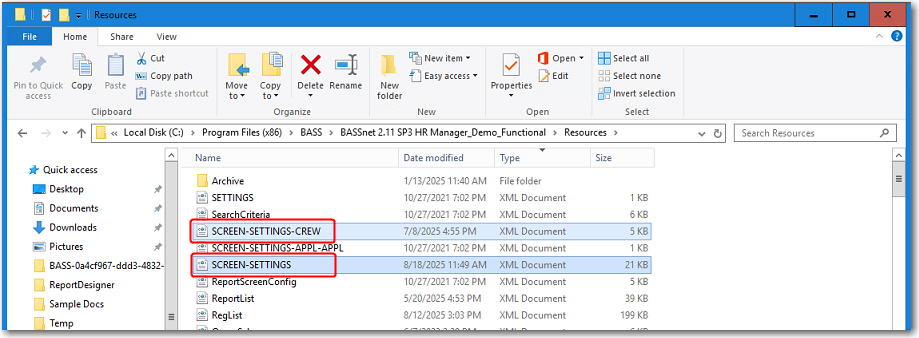
10. Optionally, click the number 0 in the 'Attachment' column to upload any relevant documents for the medical incident. In the Upload Manager, click the Add Attachment(s) button to browse for and select the file to be uploaded, and then click OK. The attachment will be uploaded and can be accessed from the Upload Manager window. To launch the Upload Manager again, click the number indicated in the 'Attachment' column for the record. Note: The UI and terminology under the Injuries / Illness Details sub tab can be customised through XML configuration in the SCREEN-SETTINGS.xml and SCREEN-SETTINGS-CREW.xml files depending on the requirements for medical incident reporting. Some examples of customisation include renaming labels and fields, removing unused UI elements, and customising the data grid. These files are located in the Resources folder within the BASSnet HR Manager installation folder. IIS and the World Wide Web Publishing Service (W3SVC) must be restarted each time the XML is configured. Changes will take effect after the XML files are updated and will also be reflected in the exported Medical Incident report.
|
![]() What would you like to do?
What would you like to do?